Cost of a Body During Reservist
(Illustration sourced from Flickr)
My reservist is next week and let's just say that I'm not looking forward to it.
I can imagine time burning away like it's worthless, which it really is during reservist.
Do you know how much a body cost during reservist?
When you're serving your 2 years worth of compulsory national service, the total cost of your time isn't that much. It doesn't really hurt the economy when you're not working at 18 years old. Unless you're telling me that you're a lawyer at that time during thousands per month in salary.
So let's just say that the cost of time for a guy of 18 years old is around an average of $10 per day. I'm assuming the guy is still studying. The cost of time for that guy for two years is $7300. That's a negative $7300 on the economy. It they serve 3 years instead of 2 years, it would total to around $10000.
Now let's look at recalling a working adult back for reservist. On average, I'll take it that they are making $100 per day for the economy. Let's just note that there are people who make much less than that but there are also lawyers being recalled back to clean toilets.
So a two weeks worth of reservist would be a total $1400 cost on the economy.
How many lower cost healthy bodies can you exchange for with $1400? Well, around 140 bodies, or 1 body for 140 days.
Which is a drain on the economy? Which is more cost effective to protect the nation?
The answer is very clear.
-------------------------
Update: 9 May 2008
After posting something similar at a local online forum, I've finally found the answer why reservist is needed.
Somehow it eluded me that if reservist training is done away, we'll have 2.5 years worth of soldiers. With reservist training, we have over 12 years of soldiers.
Now go calculate how many hours of manpower that is.
Menu highlight gone, again
My menu highlight is gone, again.
Really have to partition my harddisk already.
OSX starting to behave like Windows OS.
End is near.
Flickr video isn't so bad. It's clear!
Really have to partition my harddisk already.
OSX starting to behave like Windows OS.
End is near.
Flickr video isn't so bad. It's clear!
Startup School
An event hosted by one of my favourite business companies, Y Combinator
Warning: there are some audio glitches
Watch live video from HackerTV on Justin.tv
Warning: there are some audio glitches
Watch live video from HackerTV on Justin.tv
Telcom destroyer coming soon
Story source: iPhone gets VoIP and chat options thanks to Fring
This is precisely the type of functionality that I predicted the first time the iPhone was revealed by Steve Jobs. The ability to use VoIP to make free phone calls over Wifi.
Don't worry, this is not Armageddon for telecommunications company. Armageddon will come when you don't have to hack your iPhone to get VoIP.
It will come in the form of the web browser.
Be afraid. Be very afraid.
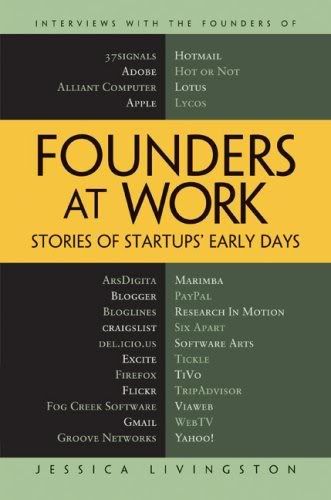
Book Review: Founders at Work
Ever wonder what goes on in the minds of entreprenuers when they are just starting out? With this book, you literally go into the trenches with this entreprenuers. Because of the interview style format the book is in, all the raw details are there. It's like sitting with the founder in the same room.
You'll feel the anxiety when they are looking for funding. You'll share their joy on their first IPO. Their enthusiasm literally seeps through the pages.
This book is as close to creating a startup yourself. Seriously. It's that good.
The book focuses mainly on technology related companies though. I like technology related companies.
Illustrator tip: Releasing clipping mask releases all
I want to highlight something that might happen if you're not careful about clipping masks.
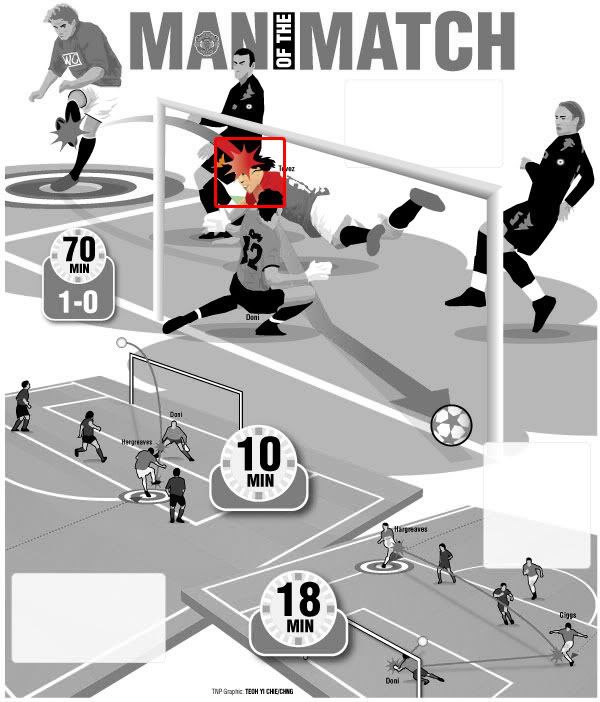
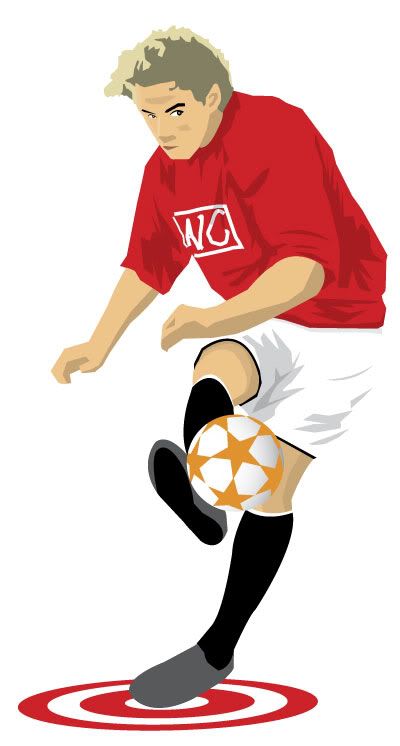
Let me use the graphic I did recently as an example. In the image below, I have used a clipping mask (Ctrl + 7) to "crop" the graphic to fit onto the page.
Let's zoom in on Tevez's eyes. This image below, is the zoomed in version from the first image. The eyes are fine here.
But this happens (below) when you choose to release the clipping mask on the whole illustration.
When I make this mistake, it's not good. I would release the clipping mask because I want to conveniently move some groups of stuff and re-clip back the objects. But I would forget that there are small areas where I've previously clipped. In the end, these areas don't get clipped back.
That leaves me with ball flight lines that should be under the goal post BUT instead appear above the goal post. That's a major factual error, obviously!
To solve this, I've changed to using opacity mask instead. It's safer. But the compromise is you can't move the clipping object easily with your direct selection tool.
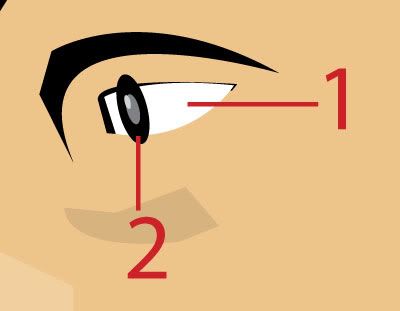
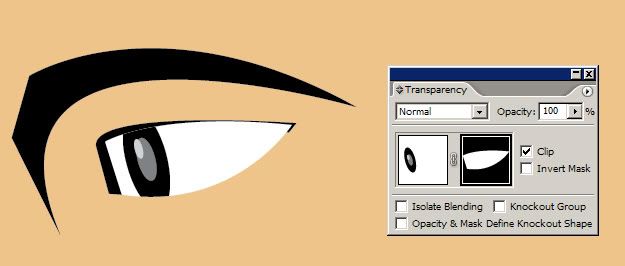
The eye white (1) is my clipping object. The pupil (2) is my object to be clipped. In opacity mask terms, the eye white is the masking object.
To use opacity mask, I simply selected the eye white, copy (Ctrl+C) and pasted one in front (Ctrl+F) and push the mask up to the front (Shift + Ctrl + ]). Then I selected it and the pupil together, clicked on the transparency palette options (round button with right putting triangle), chose Make Opacity Mask.
Depending on what colour of your masking object is, you have to check or uncheck the Invert Mask checkbox.
In my case, the masking object is white in colour and I've unchecked Invert Mask
Owen Hargreaves crossing
Best soccer commentating
This is no doubt the best soccer commentating ever. Although I can barely understand the language
Art in a class of its own
The Spider-Man 3 graphics done last year won the Ifra Asia Media Awards. It brought home the Bronze trophy.
Single page versions for reading if the one above is too small.
And below are the people I work with. This is page 3 of the package.
Last year I also wrote about the making of the poster.
Archiving an Illustrator file
Here's how I archive work that I do with Adobe Illustrator. It should work all the way up from Illustrator 10 to CS3.
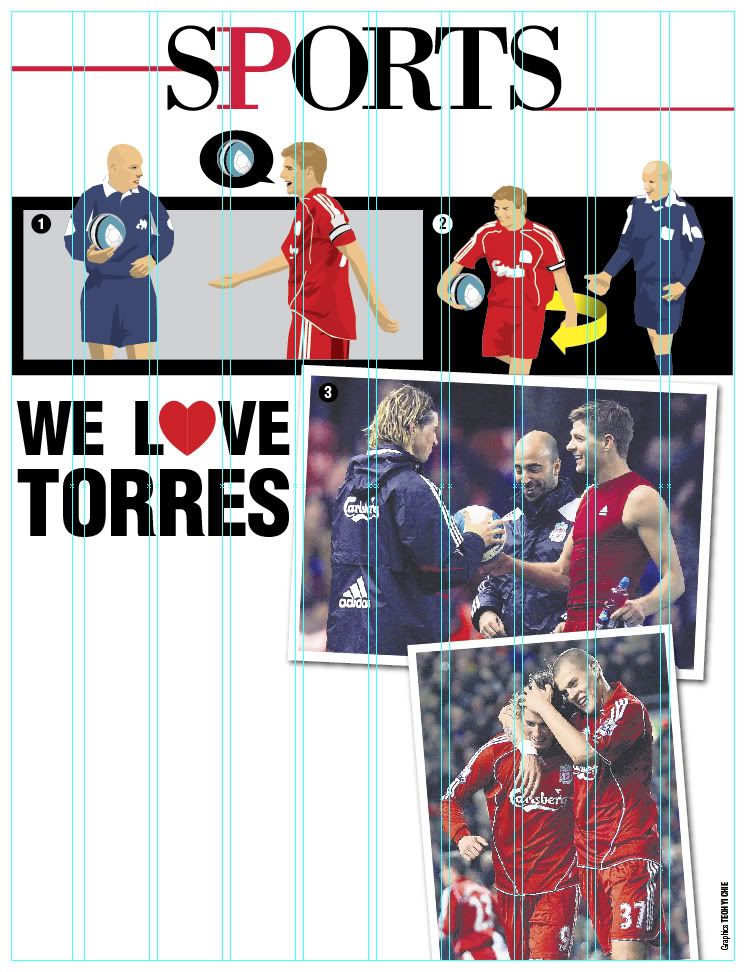
This is the finished graphic placed on a page grid.
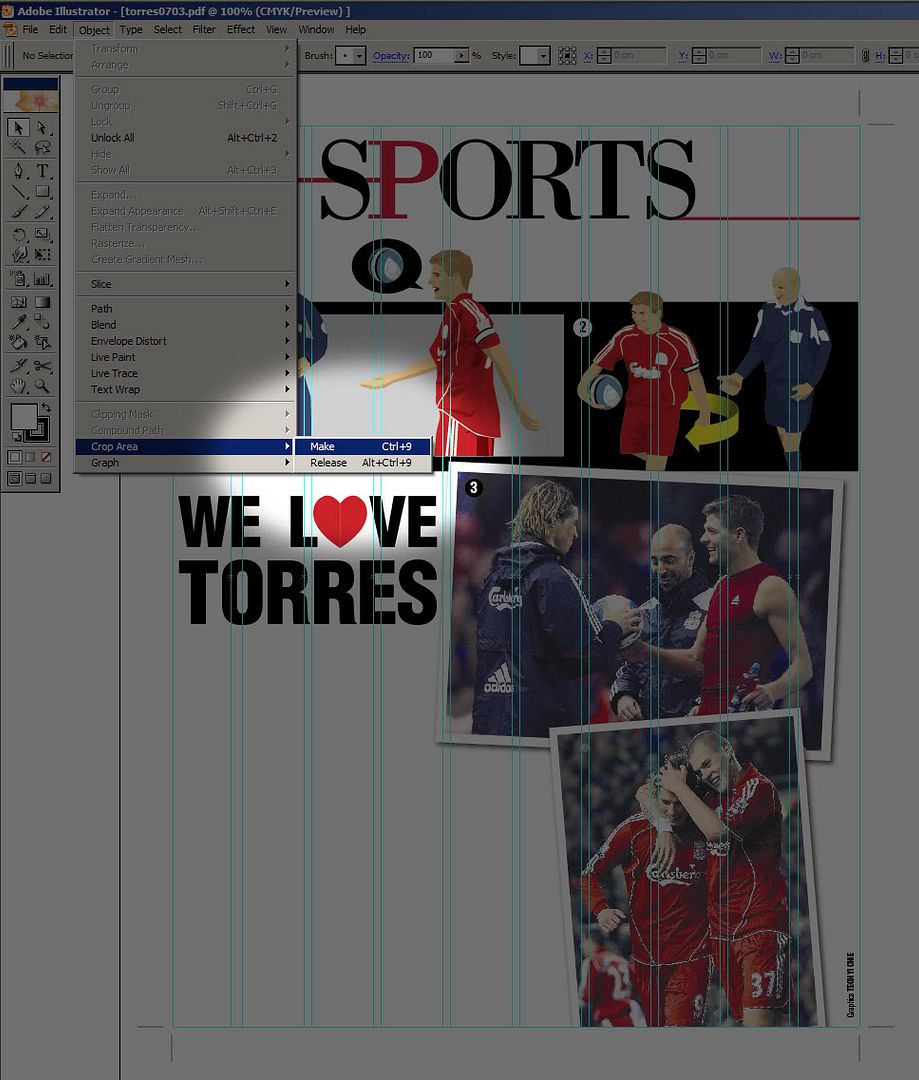
To archive it, first draw a rectangle to cover everything that you would like to see. In this case, I have drawn it to cover the page grid. Next, you turn the rectangle into a crop area. That's from the menu, Object->Crop Area->Make.
You can see the crop marks appearing at the four edges.
Next from the menu, choose File->Save As.
Under the save as type drop box, choose to save as an Illustrator PDF file. Saving it in this format ensures that the vector quality of the graphic is not lost.
If there are photos linked inside the Illustrator files, they will embedded. You can also choose what kind of compression you want for your photos. I typically leave them at default.
If you haven't applied the crop area, the file on the right is how it will look if you were to open it up with Acrobat Reader. The one of the left has a crop area applied. See how tight the graphic file is.
Some other things to note.
You don't have to worry about loss of fonts because the pdf format embeds the fonts together with the file. But if you were to open the file with Illustrator on a computer without the font, the font missing dialog box will appear.
Illustrator PDF format ensures you'll be able to work with it using Illustrator in the future also.
Subscribe to:
Posts (Atom)